Tutorial: 5 Ways to Decorate Monoline Script
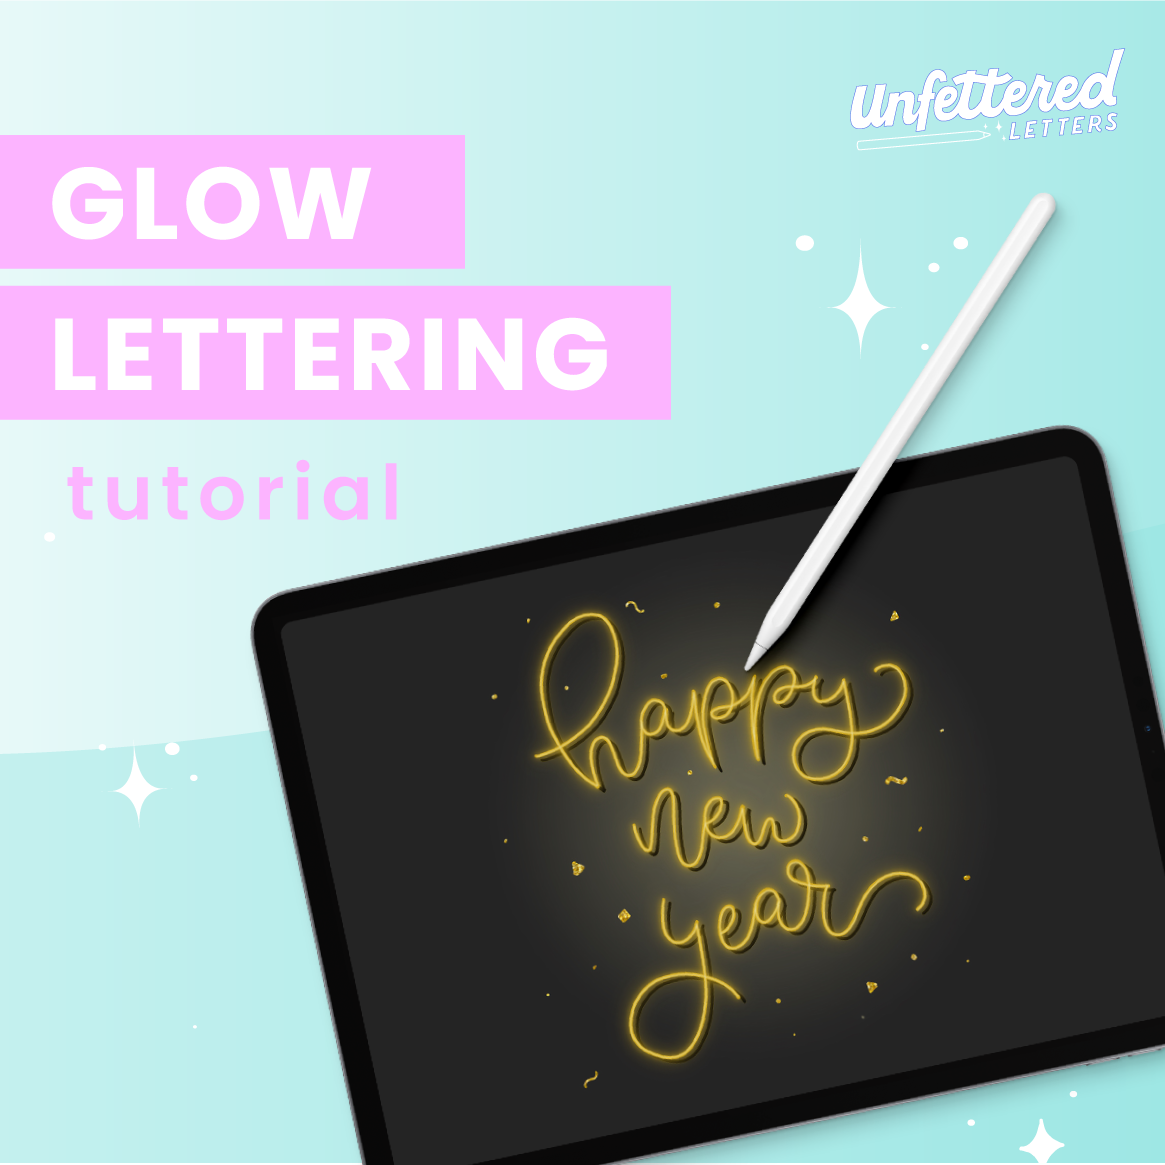
We all know that mastering monoline letter skeletons is the best place to start when learning script lettering. BUT, the simplicity of this lettering style can get a little boring when it’s all you’ve got! This video tutorial covers five SIMPLE tricks you can use to level up your monoline script lettering to make it more fun for both you and your audience while you’re still in the learning stages of script lettering. Grab your iPad and try them out for yourself!
Brush(es) used in this video:
UFL Monoline Round (“Monoline” from the Procreate defaults will work just as well)
Color palette used in this video:
Coral: f2a876
Teal: 62a9a9
Cream: fefee6
Yellow: f5d58c
Navy: 273546
5 Ways to Decorate Monoline Script:
Inline & Dotted Inline
Draw out your word in monoline script, using a very small size monoline brush (the “Monoline” default Procreate brush will work, or any brush that is NOT pressure sensitive and has hard edges). Name this layer “Inline.”
Create a new layer underneath the Inline layer. Increase the size of your brush so that it’s a good amount larger than the inline. Choose a contrasting color, then trace your inline with this thicker, contrasting colored brush. You now have monoline script lettering with an inline!
Reduce the opacity of your Inline layer. Create a new layer called “Dotted Inline.” Following the original inline that is just barely visible, create dots along this line with the same monoline brush, but in a slightly larger size so that the dots are easy to see.
Turn off the Inline layer. Now you have monoline script lettering with a dotted inline!
Drop Line
Write out a word in monoline script using a monoline brush in a medium size.
Choose a direction from which you want light to come (i.e. top left of your drawing). You’ll be drawing parallel lines on the side of your lettering that is OPPOSITE this imaginary light source (i.e. bottom right). The lines should be a slightly smaller than the size you used for the lettering, in a contrasting color. Leave a small amount of space between your lettering and your drop lines.
Continue adding drop lines around the whole word, trying to keep the distance between your lettering and drop lines as equal as possible. Once you’ve gone through the whole word, you have monoline script lettering with a drop line!
Drop Shadow/Extrusion
Write out a word in monoline script using a monoline brush in a medium size.
On the layer menu, tap “Select.”
Create a new layer, choose a dark color, and on the new layer’s layer menu, tap Fill Layer. Name this layer “Drop Shadow.”
With the Drop Shadow layer selected, hit the magic wand button (Adjustments menu) and tap “Motion Blur.” Place your pencil at a point along your lettering and drag down and to the right until you reach the size of drop shadow that you want.
In the Drop Shadow layer’s layer menu, tap “Select,” then tap “Fill Layer.” Do this multiple times until the shadow is mostly filled in with color.
Tap select on the Drop Shadow layer menu again, and fill in the remaining color by using a monoline brush at maximum size. You’ll have to lift your pencil and add multiple strokes to the shadow to fill in all the blurry areas until your drop shadow has hard edges.
Use the cursor icon to select your whole Drop Shadow layer. Move it down and to the right so that the top edges of your drop shadow line up exactly with the top edges of your lettering. Once everything is lined up, you have monoline lettering with a drop shadow (AKA extrusion)!
Shaded Drop Shadow/Extrusion
Building off of the drop shadow already created, determine an imaginary light source direction (i.e. top right).
Create a new layer named “Shading,” and set the blend mode of this layer to Multiply. Select the SAME color as your drop shadow (it will appear darker due to the blend mode setting). Place this layer directly above your Drop Shadow layer. Tap on your Shading layer to open the layer menu, then tap on “Clipping Mask.” Now anything you draw on the Shading layer will only appear within the borders of your drop shadow.
On the opposite side of your imaginary light source, start filling in shading on your drop shadow. Shade any area where your imaginary light source would not hit the drop shadow, such as the bottom of letters or the inside of closed loops. Keep the angles of the edges of your shaded areas consistent across the word.
Play around to add shading until you’re satisfied with how your word looks. Now you have monoline lettering with a shaded drop shadow (AKA extrusion)!
That’s it! You now know 5 ways to add interesting effects to your lettering.
If you want more help creating the monoline script style of lettering in this tutorial — check out my Monoline Script Workbook.


