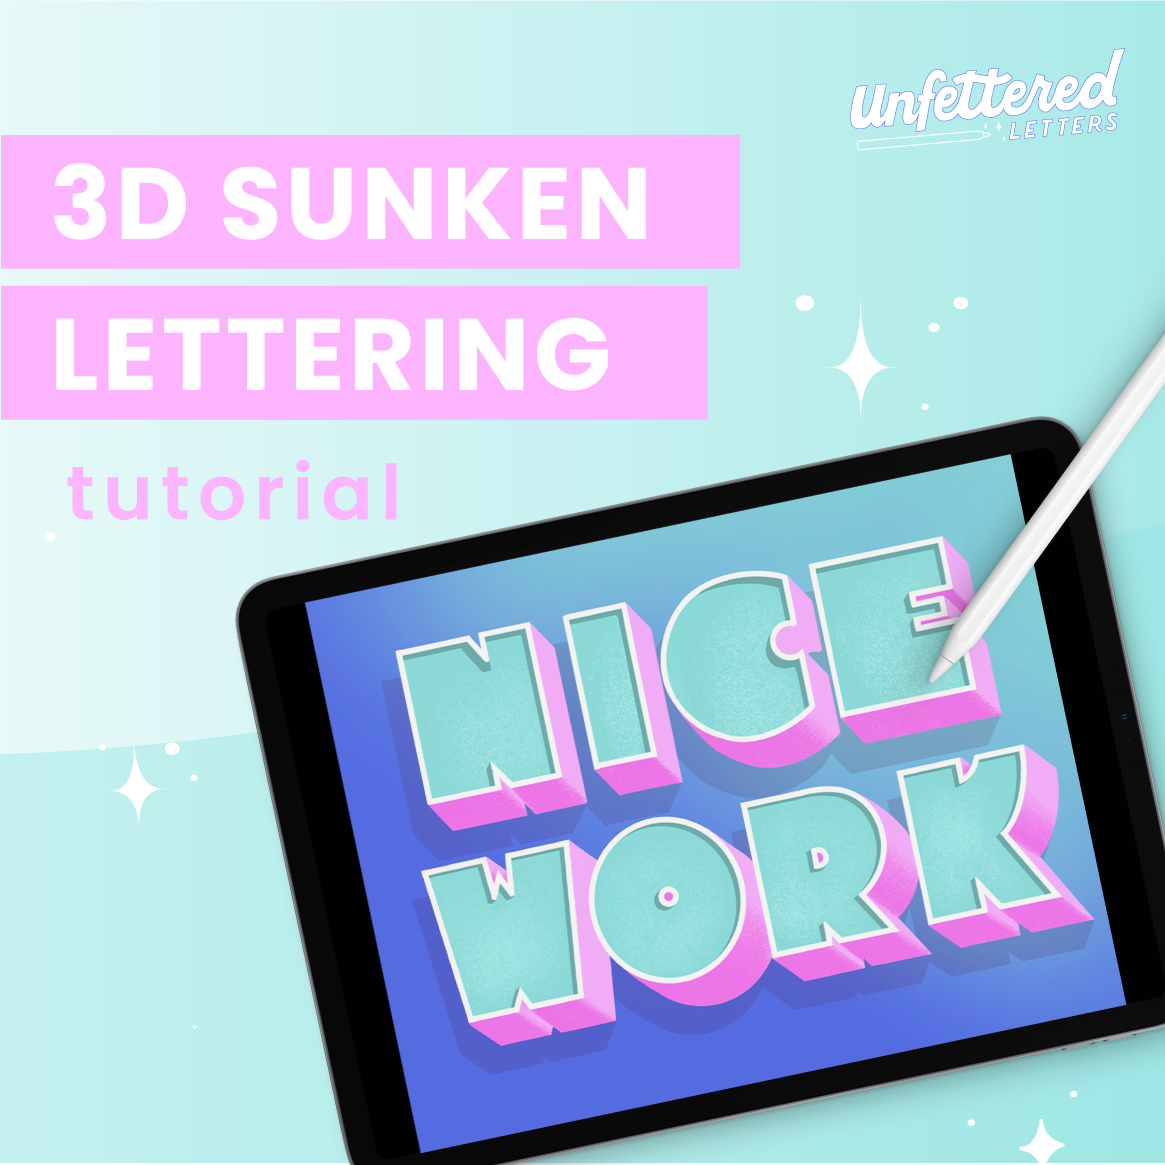
How to Create 3D Lettering Effects in Procreate
Creating 3D lettering by adding depth and dimension is an easy trick to make it pop off the screen and get people interested in your work.
Luckily, there’s one simple tool in Procreate’s Adjustments menu that does almost all of the work for you! Use this video tutorial to learn how to use it yourself and start creating eye-catching lettering pieces.
Brushes used in this video:
UFL Monoline Round (“Monoline” from the Procreate defaults will work just as well)
Color palette used in this video:
Red (letter fill): #f6584b
Yellow (extrusion): #fbbf71
Rust (extrusion shading): #d05f37
Black (drop shadows): #010100
Creating 3D lettering effects in Procreate:
Letter your word or phrase. Open the layer menu of the layer that contains the fill of your word, and tap “Select.”
Add a new layer, choose the color for your extrusion, and on that new layer’s layer menu, tap “Fill Layer.”
With the extrusion layer active, open the Adjustments menu and select “Motion Blur.”
Drag your pen diagonally to blur and extend the contents of your extrusion layer. Drag to around 30%.
Tap the layer to open the layer menu, then tap “Select.”
Open the layer menu again, and tap “Fill Layer.”
Repeat steps 5 & 6 a few times until you start seeing your extrusion become solid. As a final touch, “Select” the layer again, then go in and fill out the edges with a solid, flat color brush to give it a hard edge all the way around.
Create a new layer above your extrusion, and tap “Clipping Mask” on the layer menu.
Grab the Rust color from the palette and, on the clipping mask layer, use a solid brush to color in any areas on top of the extrusion that would be shaded (i.e. the bottoms of all letters and small inner areas).
“Select” your extrusion layer, create a new layer underneath it, select Black from your palette, and then “Fill Layer” on your new layer.
Repeat the Motion Blur technique on this new layer, but drag it in the opposite direction of your extrusion (i.e. if your extrusion goes down and to the right, drag this one down and to the left). Only extend the Motion Blur to about 10%.
Do NOT fill in this layer. Lower the opacity to 35% and change the blend mode to Multiply.
Repeat step 11, but drag this second shadow much further – about 30% Motion Blur. Keep it in the same direction as the first, smaller drop shadow.
Use the “Select” & “Fill Layer” technique 3 times on this layer to fill it in a bit.
Lower the opacity to 10% and change the blend mode to Multiply.
Use the Move tool (cursor icon) to make any final adjustments to the positioning of your shadows.
Once you run through this process a few times, 3D lettering will be a quick and easy staple in your lettering effects repertoire!
If you try this tutorial, share your work on Instagram and tag @unfetteredletters so I can see & share your work!

BUSINESS COACHING FOR LETTERERS
Ready to turn lettering into a successful side hustle?
Through my 8-week coaching program, you’ll define a niche that sets you apart from the competition, and learn the skills needed to develop effective (yet effortless) content as a creative side hustler that connects you with your ideal clients—instead of just attracting more fans and lettering peers.
Learn more or apply now to see if you’re a good fit: